Yassir Sahnoun originally published the post on the 9th of July 2017. Nick Darlington has updated it to include new information.
Last week we received a question from a WriteWorldwide reader. He understood the importance of creating a writer’s website to showcase professionalism, but he wanted to know how to create one with very little money. In fact, in his words, he was ‘broke.’
The chances are that if you’re reading this, you’re in the same boat. The odds are also good that you don’t have the technical knowledge in setting up a website (kudos if you do).
And you sure as hell don’t want to spend hours upon hours figuring it out right? After all, it can become an absolute hassle when all you want to do is focus on landing clients and making money.
We get it; we at WriteWorldwide were in the same boat when we started our writing careers in 2016. Like you, we weren’t designers, but we did have a strong desire to figure it out. And, through much trial and error, many Google searches, and hours of frustration we eventually did.
In today’s post we want to share that experience with you (well not the hours and hours of Google searches, but the end product, of course).
We’ll show you exactly how to create a writer’s website in six simple steps. We’ll share only the bare essentials you need to create your site. By following these steps, you’ll be able to create a website without any technical know-how and on a shoe-string budget.
As you follow these steps, remember that you don’t need a perfect website. See it as a work in progress; something you can change over time as you build your business.
If you find yourself faffing over unnecessary details, remind yourself that your goal is to create a website that’s “good enough” so that you can focus on what really matters: writing, landing clients, and growing your business.
Now, let’s dive into the post. To create your writer’s website follows these steps:
- Step 1: Decide on your website name and buy a domain
- Step 2: Select your host
- Step 3: Create your custom email address
- Step 4: Choose your content platform
- Step 5: Select your theme
- Step 6: Write the key pages of your site
Step 1: Choose a Website Name and Buy the Domain
When deciding on the name of your site you have the option between your name and a name the specifies what niche you write in. Both have their pros and cons.
If you choose a name that indicates your writing niche (e.g., thetechwriter.com), prospects will immediately know what your site is about.
Choosing your name will not provide such targeting, but it means that if you change niches, you don’t have to change your website name. You, therefore, have far greater flexibility.
When choosing your name, consider buying a .com name or any similar top level domain name. Free domain names inspire doubt among clients and decrease the chance of bagging prospective clients.
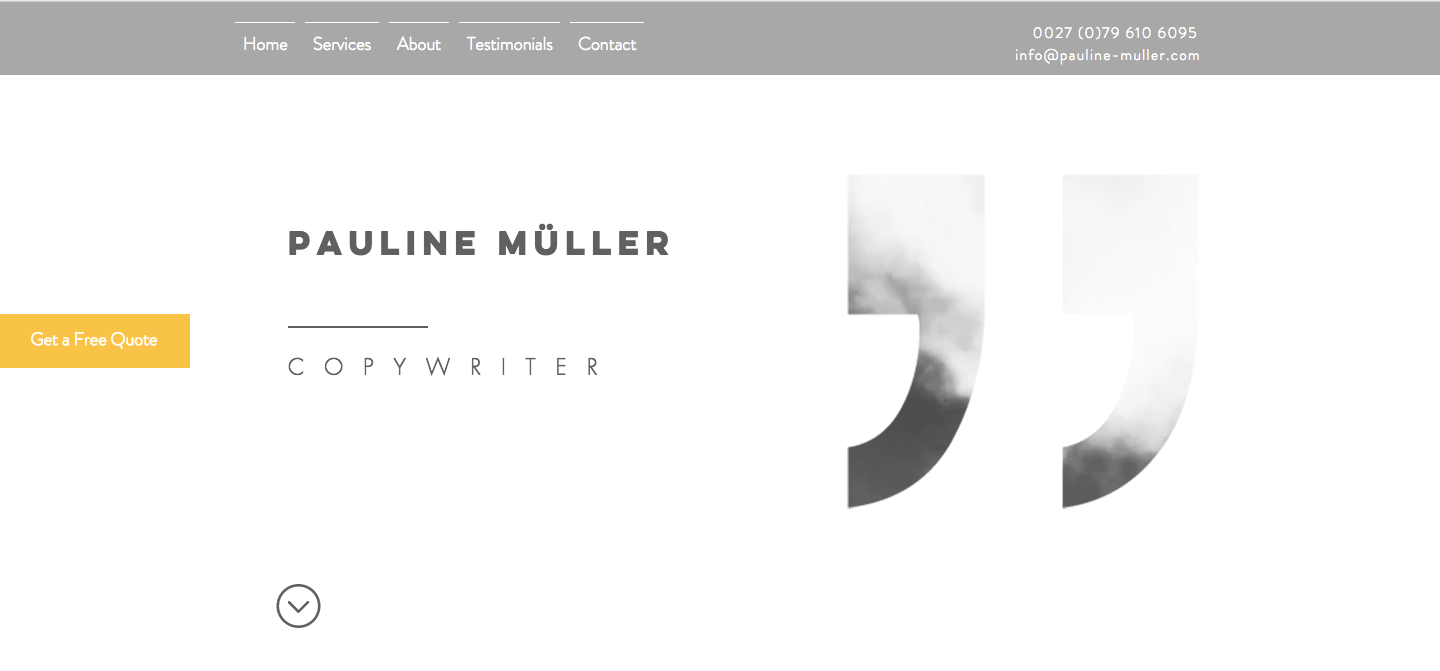
Once you’ve chosen a name, use Whois to assess the availability. If it’s not available, consider others. For example, Pauline Müller wanted to register the domain paulinemuller.com. Unfortunately, it was taken. But with a slight tweak to pauline-muller.com, she was able to register her domain.

“But, where can I buy a domain name?” You may be thinking.
Well, two superb places to grab them are Namecheap and GoDaddy. In fact, if you choose GoDaddy, why no try out these one-time $0.99 coupons?
However, many hosting platforms provide one free domain when you sign up, so before you buy a domain from Namecheap and GoDaddy, it may be wise to select a host first.
Step 2: Choose a Host
Choosing a hosting among the many options available can be difficult. We recommend the following two hosting providers: Bluehost and SiteGround (these aren’t affiliate links). Both hosts provide hosting plans that are affordable and ideal for writers’ websites.
For example, Bluehost currently offers a plan that starts at $2,95/month and includes a free domain, 24/7 support and 1-click WordPress Installs. And, they regularly run specials and promotions if you’re using WordPress (more on WordPress later).

However be aware: If you use them, you’ll have to pay the full hosting cost for the selected period upfront. If this cost is too much for you, we do have a contact who offers hosting on his servers for a fee of $1 (It’s totally legit – he helps freelancers.).
If you’re interested, please sign-up to our mailing list and contact us for availability (spots are limited).
Step 3: Create a Custom Email Address
If you want companies to see you as a professional create a custom email address such as nick@nickdarlington.com. You can create your email with your hosting provider.
The chances are that you already have a Gmail interface and enjoy working with it over what your host offers. Here’s a quick trick you can use to make sure you send and receive emails in Gmail using your custom email address (and no you don’t have to pay a monthly fee by signing up to Google Apps; it’s totally free!).
Go to Gmail – Settings, click Accounts and Import, then click Add a Mail Account You Own. You’ll need to fill in info, that’ll vary depending on your host. Get this info by logging in to your hosting provider and using the live support. If you’re still struggling, use Google.
Step 4: Choose Your Content Platform
We’ll make things easy for you – go with WordPress; they’re the industry standard. The added benefit is that many clients use WordPress. By working in WordPress, you’ll build up your skill set that’s transferable to client work.
But, make sure you create an account with WordPress.org and not WordPress.com. If you use WordPress.com, you’ll have to host your website on their servers and hosting platform.
Once you’ve created your account install WordPress from within your host’s platform. Most hosting services provide a one-click WordPress installation in the cPanel. Let’s see this in action, in SiteGround.
1. Login to The Home Page

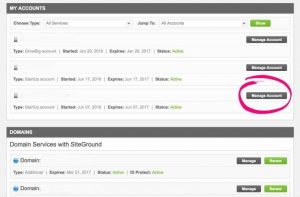
2. Go to “My Accounts”
3. Click “Manage Account”
4. Click “Go to cPanel”

5. Open the WordPress Icon

6. Install WordPress

7. Set Your Domain Protocol to http://www.
8. Sign in to WordPress
Go to “http://www.[domainname].[tld]/wp-admin” and type your username and password to access your WP dashboard.

Step 5: Select Your Theme
The theme is the skeleton, from which you will design your site. It’s a ready-to-go template which means you don’t have to code a new site from scratch.
There are hundreds of themes to choose from. Take a look at the WordPress Theme Library which offers paid and free themes (free themes have fewer customization options).
The sheer number of options can cause overwhelm and make it difficult for you to choose. And, fear of choosing the wrong theme may also surface in your mind.
Our advice?
Either, browse for a few hours and select the first one you like. If you’re spending days choosing a theme, you’re wasting time that could be better spent building social proof or finding clients.
Or, simply follow these suggestions:
- For a paid theme that works, buy and download Divi. The WriteWorldwide blog runs on Divi.
- For FREE themes, try Maskitto Light or Illdy. They’re simple and do the job. And that’s the thing; your final design needn’t be complex. Keep it clean. Use lots of white space. Let your content shine through.
Step 6: The Key Pages of Your Website
Writing great copy for your website’s pages is critical for convincing your potential clients to contact you.
While every writer’s website will have different copy and a unique design, there are key pages you should have.
These are your About, Contact/Hire me and Services’ pages. You can add portfolio pages (samples of your work) and testimonial pages as your business grows.
1. About
Whether you’re an ESL teacher in Morocco, a salesman of 7 years, or have a Ph.D. in Marketing; you should mention these things in your About page – especially information related to your niche and services. So, include information about yourself, the services you offer and the value you provide clients.
See how Bamidele did it when he launched his writing challenge? Nothing fancy.

Or how Richard Rowlands does it?

2. Contact
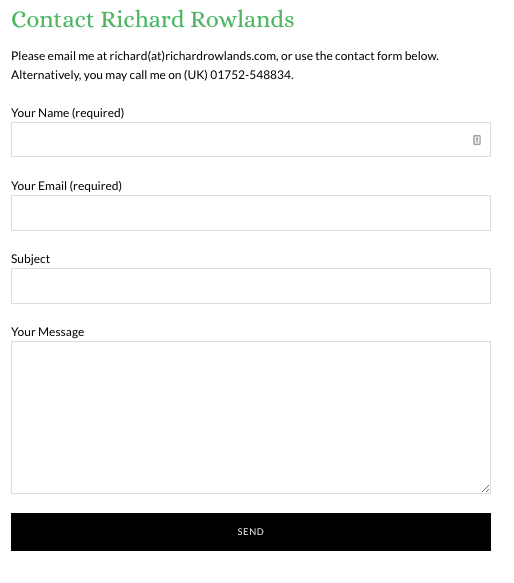
Include information on how prospects can contact you. Pinning your email in the header of your site and adding a contact form is a good option. Use WPForms, to create contact forms.
See Ciaran’s or Richard’s contact me page, for examples.

3. Hire-Me/Services
Provide more details on the services you offer and include a contact page.
Services you can offer include email marketing, blogging strategy, newsletters, website copy, press releases, ebook writing, white papers, blog posts, feature writing and ghostwriting.
For example, look at Richard’s pages. He has a services page that doubles as a hire-me page.
Hopefully, the above examples guide and help you when creating your own pages. Here are a few extra pointers as you design your site and write the key pages:
- Make the copy about them not you and make it clear what value you offer. For example, you could say “I create engaging content that will drive traffic and improve ROI”.
- Establish a connection with your prospect by including a photo of yourself.
- Once you’ve written your web copy check for spelling and grammar errors. You can share it with a trusted friend for their honest feedback.
But What About SEO?
Many newbies worry about SEO when they’re starting. Honestly, rather focus on getting your site up to establish yourself as a professional. Worry about your SEO later. Your time is better spent looking for clients and growing your business.
If you do want some help with SEO in the meantime, read Moz’s Beginners Guide to SEO and install the Yoast Plugin which provides you with a checklist for optimising your pages on your site.
Conclusion
Creating a website can be daunting if you lack expertise and don’t have much money. But, if you follow these steps you can and will have a site up and running in no time.
A website that you’re proud of and more importantly one that establishes you as a serious business owner in your client’s eyes.
So, what are you waiitng for? Create your website today.
Are you looking for more helpful articles like this?
Visit our "Start Here" Page to find content that appeals to you, wherever you are in your writing journey


wow, this is very informative.
it is all I needed to set up my website.
thanks
Hey, Sara!
I’m glad you found this useful.
Cheers!
This is really helpful. I set up my website but I really have to work on my about page. After all, “Writing great copy for your website’s pages is critical for convincing your prospective clients to contact you.”
Thanks!
Hi Katopeka!
We’re glad you found this helpful. Strong copy is definitely a game-changer for every writer’s website.
Cheers!
I set up mine and I am thrilled. I am still working on the home, about page but I will get there.
Hi Pauline,
I’m happy this post has helped you with setting up your website. Let me know if there is anything you’d like me to help you with.
Best,
Yassir
Great post and it’s a very informative, Yassir! Every writer needs fresh ideas from time to time – thanks for sharing!
Hi Riya,
I’m glad you like this post. We’ll definitely keep more informative content coming in 2018!
Cheers,
Yassir
Thanks for this. I’m still on the thinking stage. However I’ll like to know more about the host friend you’re talking about, and how much it’d cost for a year. I’m in Nigeria.
And if I encounter issues while setting it up, can I contact you?
Hi Marian,
Please sign up to our email list if you haven’t already – you’ll find the sign up box on our homepage. Send us an email and we’ll be happy to help.
Thanks,
Richard